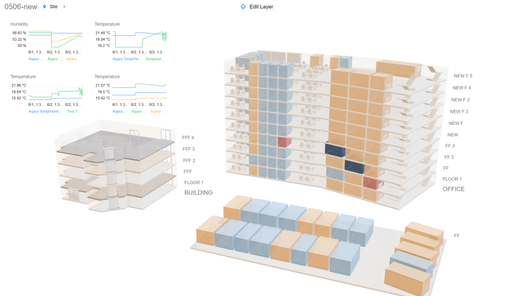
Patch Update: Zircon3D v2.2.1 — 2026-05-15
We released a small patch update for Zircon3D v2.2.
New Feature
Added Project Tools: support exporting and importing Zircon3D space-plan / floorplan data.
Bug Fixes
Fixed an issue where switching edit mode did not reset Box View correctly.
Fixed behavior issues related to View Settings, Floating Cards, and Sensor Card Display.
The new import/export feature can be useful when you need to move, back up, or share a floorplan between Zircon3D projects.
How to import/export a floorplan in Zircon3D
This feature is only for exporting floorplan data from Zircon3D and importing it back into Zircon3D. It is not for importing files from other design systems.
Open Zircon3D in Home Assistant.
Select your project, then click Edit to open the Designer.
In the bottom-left bar, open Project Tools.
Choose Import Project or Export Project.
When importing, select the project file exported from Zircon3D.
After importing, click Save to keep the imported floorplan, or press Undo to discard the changes.